Summary
This article provides practical insights into effectively repairing and restoring cracked and weathered leather. Covering a range of natural and accessible methods, it offers readers step-by-step guidance on rejuvenating leather surfaces. From cleaning and sanding techniques to utilizing household items and commercial products, the article aims to empower readers with diverse options for breathing new life into their leather possessions. Whether addressing lightly cracked or severely weathered leather, the comprehensive tips cater to various degrees of damage, promoting sustainable restoration practices.
Leather, being a natural material, is susceptible to wear and damage over time, much like any other natural materials. Without proper care and maintenance, leather can develop a worn appearance, dry out, and become cracked or prone to cracking.
While the success of repairing cracked leather will very much depend on the severity of the cracks, lighter and smaller cracks can be easily repaired using various leather conditioners or even household items such as Olive Oil or Coconut Oil. For better results, consider commercial leather conditioners that contain natural ingredients like beeswax, lanolin, or plant-based oils.
Repairing Minor Leather Cracks:
Restoring lightly cracked leather essentially involves restoring and replenishing leather’s natural oils. There are numerous household and natural items we can use to accomplish this task. Mainly among them – Olive Oil, Coconut Oil, Beeswax, Shea Butter, Lanolin, Jojoba Oil, and vinegar and linseed oil mixture. You can also purchase and use commercially available leather conditioners.
Apply a small amount of the conditioner of your choice to a soft cloth. Gently rub the oil into the cracked leather in a circular motion. Let it sit for a few hours or overnight, and then wipe off any excess.
Of course, before applying any of these treatments, it’s always a good idea to test a small, inconspicuous area of the leather to ensure that the chosen method doesn’t cause discoloration or damage. Additionally, for valuable or antique leather items, you may want to consult with a professional leather restorer for personalized advice.
Repairing Leather with Extensive Cracks:
Restoring leather with extensive cracks will require us to roll our sleeves and prepare ourselves for a little more thorough process. We’ll be using leather repair putty (aka leather filler or paintable repair filler) to restore cracked leather by filling in the gaps and providing structural support. Here’s a step-by-step process:
Materials Needed:
Leather repair putty
Clean, soft cloth
Mild leather cleaner or a mixture of mild soap and water
Fine-grit sandpaper
Leather conditioner or natural oils (optional)
Step 1: Clean the Leather
– Gently clean the cracked leather using a mild leather cleaner or a mixture of mild soap and water.
– Dampen the cloth with the cleaner and wipe the surface to remove any dirt, grime, or oils.
Step 2: Sand the Cracked Areas
– If the cracks are rough or uneven, use fine-grit sandpaper to smooth the surface.
– Be gentle to avoid causing further damage. The goal is to create a smooth and level surface.
Step 3: Prepare the Leather Repair Putty
– Follow the instructions on the leather repair putty packaging to prepare the product. Typically, you’ll need to mix components or knead the putty to activate it.
Step 4: Apply the Leather Repair Putty
– Take a small amount of the prepared putty and work it into the cracked areas.
– Use a spatula or your fingers to spread and mold the putty, ensuring it fills the cracks completely.
Step 5: Smooth and Shape
– Smooth the surface of the putty with a clean, damp cloth to blend it seamlessly with the surrounding leather.
– Shape the putty to match the contours of the leather item, if necessary.
Step 6: Let it Cure
– Allow the leather repair putty to cure according to the manufacturer’s instructions. This typically involves letting it sit undisturbed for a specified time.
Step 7: Sand and Finish (Optional)
– Once the putty has cured, you may use fine-grit sandpaper to further refine the repaired area.
– If desired, apply a leather conditioner or natural oils to the entire leather item to restore moisture and flexibility.
Step 8: Final Inspection
– Inspect the repaired leather to ensure that the putty has adhered well, and the cracks are filled.
– Make any additional adjustments if needed.
– Using a leather repair putty can be an effective solution for minor to moderate cracks. However, keep in mind that for valuable or intricate leather items, consulting with a professional leather restorer may be advisable.
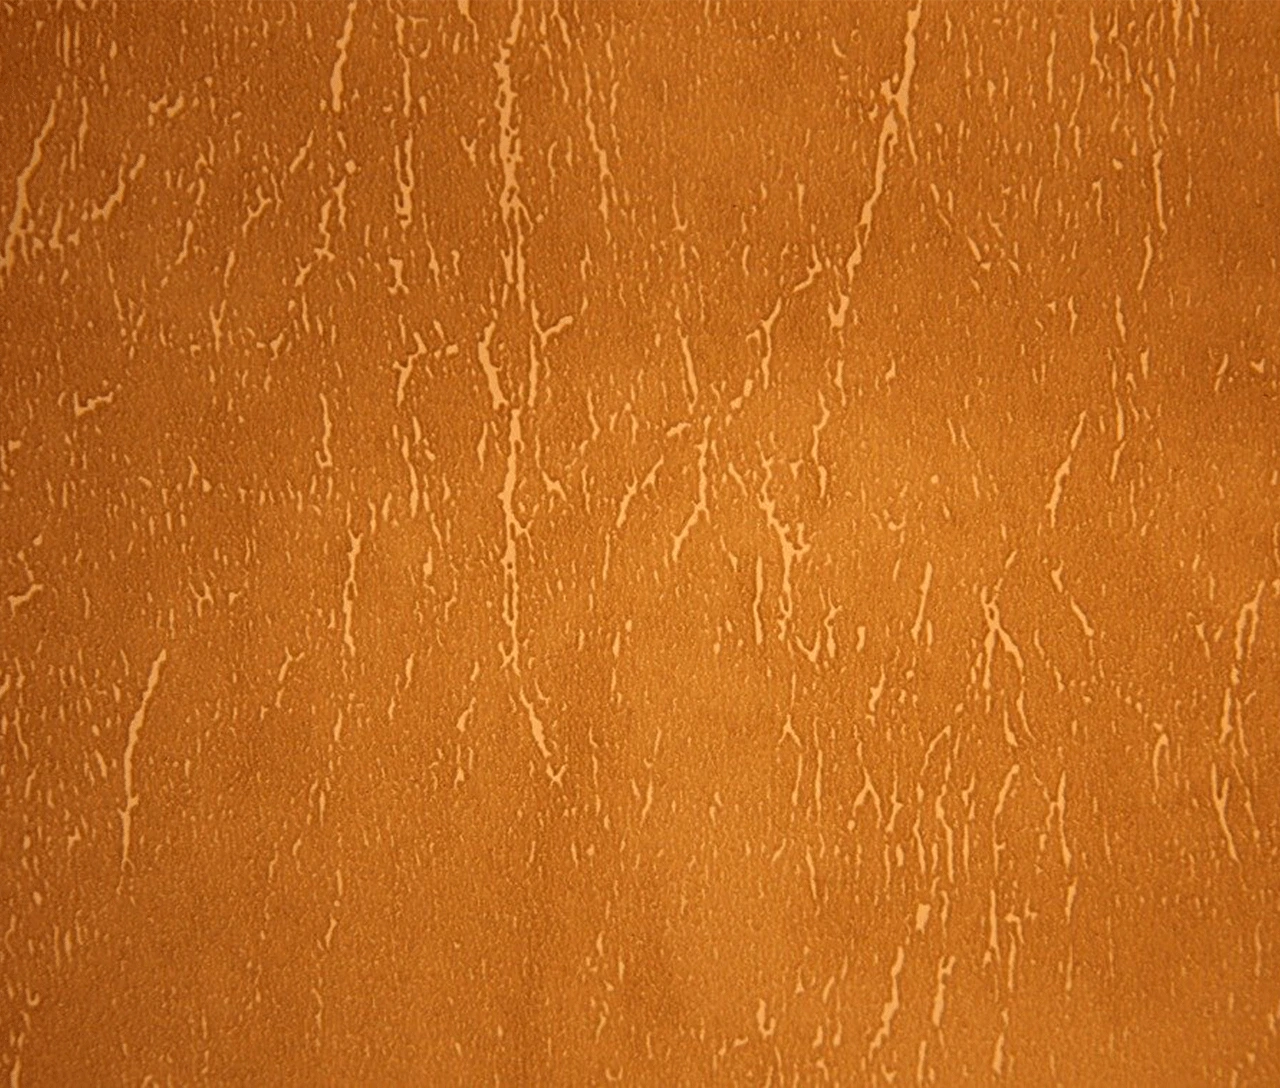
Image by Michael Milburn from Pixabay

